
A simple household powder can restore your grout to its original white, but surprisingly, its power comes from a chemical reaction that does most of the heavy lifting for you. This isn’t about harsh chemicals or hours spent on your knees scrubbing. So how can an ingredient from your cupboard dissolve stubborn black mold while you barely lift a finger? Let’s explore the science behind this effortless cleaning method that will transform your bathroom.
Why your bathroom grout turns black so quickly
The grout between your tiles is a battlefield. It’s porous by nature, acting like a tiny sponge that eagerly soaks up water, soap residue, and limescale every time you use the shower. This constant dampness turns your beautiful bathroom into the perfect breeding ground for microscopic fungi, which manifest as ugly black and grey spots. Without proper ventilation, this humid sanctuary quickly loses its charm.
Sarah Kent, 34, a graphic designer from Manchester, knows this feeling all too well. “I felt so defeated seeing those black lines reappear just days after a deep clean,” she says. “It made the entire washroom feel perpetually dirty, no matter how much I scrubbed. It was frustrating because I wanted that sanitary space to be a place of relaxation, not a constant cleaning chore.”
Many homeowners believe that once grout turns black, the only solution is to arduously scrape it out and reapply it, a costly and time-consuming project. But here’s the good news: as long as the grout isn’t crumbling or physically breaking away from the tiles, a deep clean is often all that’s needed to revive it. The secret lies in using a product that can penetrate the pores and dissolve the grime from within, rather than just cleaning the surface of your private oasis.
The science of a moldy bathroom
Mold thrives in environments that offer three things: moisture, warmth, and organic matter to feed on (like soap scum or skin cells). Your bathroom provides all three in abundance. The steam from a hot shower creates a warm, humid atmosphere, and the condensation settles on the walls of this tiled haven. Grout, being cement-based and porous, holds onto that moisture far longer than the non-porous tiles, creating a persistent dampness that allows mold spores to colonize and flourish.
Regular surface cleaning often fails because it doesn’t eliminate the mold embedded deep within the grout’s pores. Harsh chemicals like bleach can whiten the surface mold, making you think the problem is gone, but it often fails to kill the roots. This is why the discoloration seems to return so quickly, leaving you in a frustrating cycle of cleaning your lavatory without lasting results.
The miracle powder that deep-cleans without endless scrubbing
Forget the noxious fumes and the intense manual labor. The hero of this story is a simple, eco-friendly powder: sodium percarbonate. Often sold as an oxygen-based bleach or laundry booster, this compound is a true powerhouse for deep cleaning your bathroom. It’s essentially a solid form of hydrogen peroxide, which activates when mixed with hot water.
This activation releases powerful oxygen bubbles that penetrate deep into the porous grout. These bubbles work to lift, dissolve, and bleach away mold, mildew, and grime from the inside out. Unlike chlorine bleach, it doesn’t just hide the stain; it actively breaks it down, disinfecting the area and restoring the original color of your grout. It’s a chemical reaction that does the hard work, transforming your morning prep station.
The step-by-step method for pristine grout
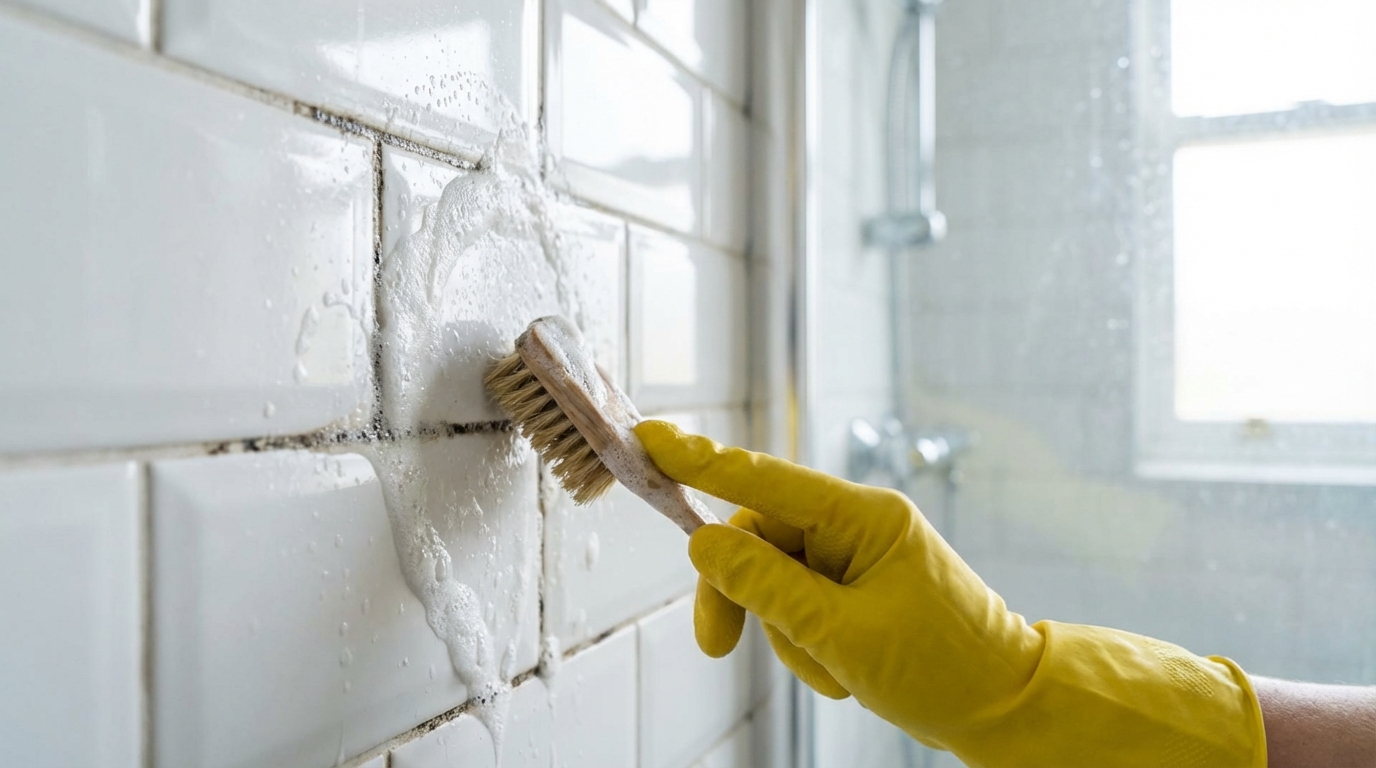
Using this powder in your powder room is incredibly simple. First, put on some gloves to protect your hands. Mix about three tablespoons of sodium percarbonate with one liter of very hot (but not boiling) water. The mixture will start to fizz as the oxygen is released. Stir it until the powder is mostly dissolved.
Using an old toothbrush or a small grout brush, apply the solution generously onto the dirty grout lines. Make sure to saturate the area completely. Now, for the best part: walk away. Let the solution sit and work its magic in the cleansing chamber for about fifteen to twenty minutes. You’ll see the oxygen bubbles actively working on the stains.
After the wait, come back and give the grout a gentle scrub. You won’t need much force at all; you’re simply helping to lift the now-loosened grime that the chemical reaction has dislodged. Finally, rinse the entire tiled area thoroughly with clean water. The difference is often dramatic, even after just one application in this steamy retreat.
Other natural solutions for stubborn stains and regular maintenance
While sodium percarbonate is a champion for deep cleaning, your kitchen cupboard holds other allies for tackling different levels of dirt in your bathroom. Having a few options allows you to tailor your approach, whether you’re dealing with a major mold invasion or just performing weekly upkeep in your personal spa.
These natural alternatives are not only effective but also give you peace of mind, knowing you aren’t filling your home with harsh chemicals. Maintaining your restroom can be both simple and safe, ensuring it remains a welcoming space.
A targeted paste for heavy mold spots
For particularly stubborn, concentrated black spots, a targeted paste can act like a powerful eraser. Create a thick paste by mixing two tablespoons of baking soda with two tablespoons of ten-volume hydrogen peroxide. Baking soda provides a gentle abrasive action while the hydrogen peroxide offers a mild bleaching effect.
Dab this paste directly onto the most affected areas in the room of mirrors. Let it sit for about ten minutes, allowing it to penetrate and break down the mold. Then, use a small brush to gently scrub the spot before rinsing it away. This method is perfect for tackling small but difficult areas without treating the entire wash space.
The classic duo: vinegar and lemon for everyday upkeep
For more frequent maintenance, you don’t always need to bring out the heavy-duty solutions. Simple white vinegar is excellent for dissolving limescale and soap scum that can dull your grout and provide a food source for mold. Just spray pure white vinegar on the grout, let it sit for a few minutes, and wipe it down.
Similarly, the natural acidity of a lemon can be used for a quick, refreshing clean. Simply cut a lemon in half and rub it directly onto the grout lines. This not only helps to clean and brighten but also leaves your bathroom smelling fresh. These gentle methods, used weekly, prevent grime from building up in the first place.
Keeping your grout clean for good: prevention is key
Winning the battle against moldy grout is one thing, but how do you win the war? The ultimate secret to a perpetually clean bathroom is prevention. By making a few small changes to your routine, you can drastically reduce the conditions that allow mold to grow, turning your bathroom into a true sanctuary of cleanliness.
The most critical factor is ventilation. After every shower or bath, run your extractor fan for at least 20-30 minutes, or simply open a window. This helps to clear the moisture-laden air from your personal wellness space, preventing condensation from settling on the walls and grout of the water closet.
Another game-changing habit is to use a squeegee on your shower walls and glass doors after each use. This simple, 30-second task removes the vast majority of water that would otherwise sit there and fuel mold growth in the wet room. For an even better result, quickly wipe down the grout lines with a dry cloth or an old towel. This denies mold the moisture it desperately needs to survive in the bathing area.
Finally, consider sealing your grout lines. Grout sealant creates a waterproof barrier over the porous surface, making it resistant to water, dirt, and staining. It needs to be reapplied periodically (usually every year or two), but it’s one of the most effective long-term strategies for maintaining a pristine bathroom and a true haven of hygiene in the facilities.
| Natural cleaning agent | Best for | Application method | Action time |
|---|---|---|---|
| Sodium percarbonate | Deep cleaning heavy mold and whitening | Hot water solution applied with a brush | 15-20 minutes |
| Baking soda & peroxide | Targeted stubborn mold spots | Thick paste applied directly to spots | 10 minutes |
| White vinegar | Limescale and soap scum removal | Spray and let sit | 5-10 minutes |
| Lemon juice | Weekly light cleaning and freshening | Rub directly onto grout | 5 minutes |
Is sodium percarbonate safe for all types of tiles?
Generally, it’s safe for ceramic and porcelain tiles. However, you should always perform a spot test on a small, inconspicuous area first, especially if you have natural stone tiles like marble or colored grout, as its powerful oxidizing properties could cause discoloration.
How often should I deep clean my bathroom grout?
A deep clean with sodium percarbonate is typically only necessary when stains become stubborn, perhaps every two to three months depending on your bathroom’s ventilation. Consistent weekly maintenance with milder cleaners like vinegar or lemon is more important for prevention.
Can I mix these natural ingredients together for more power?
It’s best not to. Chemistry can be counterintuitive; for instance, mixing acidic vinegar with alkaline baking soda causes a fizzing reaction that effectively neutralizes both, leaving you with little more than salty water. Use each ingredient separately to leverage its specific chemical properties.
What’s the real difference between baking soda and sodium percarbonate?
While they sound similar, they serve different purposes. Baking soda (sodium bicarbonate) is a mild abrasive and odor neutralizer. Sodium percarbonate is an oxygen bleach (an adduct of sodium carbonate and hydrogen peroxide) that releases oxygen when activated with hot water, making it a much more powerful agent for whitening, disinfecting, and breaking down organic stains like mold.